Invoices and Credits: Create, Edit, or Cancel (app)
- 18 Dec 2023
- 2 Minutes to read
- Print
Invoices and Credits: Create, Edit, or Cancel (app)
- Updated on 18 Dec 2023
- 2 Minutes to read
- Print
Article Summary
Share feedback
Thanks for sharing your feedback!
Email bills to parents via the app, including subsidy and discount charges
This article applies to online version only (without desktop).
Email a quick invoice to parents directly from the app using our Billing feature. If you would like to create recurring plans that will send automated invoices each billing cycle, you'll need to log into the website.
How it Works
After clicking on the Billing icon at the bottom right corner, use the blue icon in the lower right to create an invoice.

From there, you will choose which families should receive this invoice, then continue on to fill out the details of your invoice.

Click on "Add Line Item" in order to add a charge.

Note For Subsidy and Discount Charges
You'll first need to create a New Item with the regular charge amount.
Once that has been added to the invoice, you can click to add a second line item. This time, click on the drop-down menu for "New Item" and select Subsidy or Discount as needed.

Once the discount has been added, your invoice will deduct the amount from the original New Item charge you added.


Send / Resend the Invoice
Once you're done looking over the charges, click "Submit & Send" to email the invoices to the parents.
If you want to re-send the invoice as an email reminder to parents, you can click on the invoice, then select the vertical ellipsis (...) in the upper right. Choose the "Send Invoice" option.

Edit, Cancel or Delete the Invoice
Go into the family account screen and click on the invoice you want to change. Then click on the vertical ellipsis (...) in the upper right and select your desired option.
Once the invoice has been cancelled, you'll see it in the family accounts screen as Cancelled, with a small red X next to it.

If you want to completely delete it from the account page, click on it again, select the vertical ellipsis (...) and choose to "Delete" the invoice.
Credits:
To issue a credit in the app, follow these steps:
- Click on the Billing icon in the lower right.
- Select the family you want to issue a credit for.
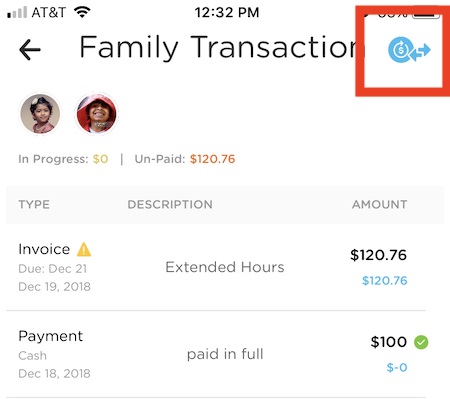
- Click on the blue icon in the upper right, then choose "Add Credit".
- Fill out the details of the credit and save.

Edit, Cancel, or Delete a Credit
If you need to make changes to a credit, go to the family account page and click on the credit. Then select the vertical ellipsis (...) in the upper right and choose whether you would like to Edit or Cancel the credit.
Once a credit has been cancelled, it can be completely deleted by clicking on it again, selecting the vertical ellipsis, and choosing the Delete option.
Was this article helpful?